How to install a Micro Helmet Mirror
The most common mounting location is on the helmet shell itself. The key is finding the optimal location on the shell.
This is how to do it…
1) Place your helmet on your head. A properly adjusted helmet covers a good amount of the forehead, and the adjusting straps should prevent the helmet from easily rocking back and forth.
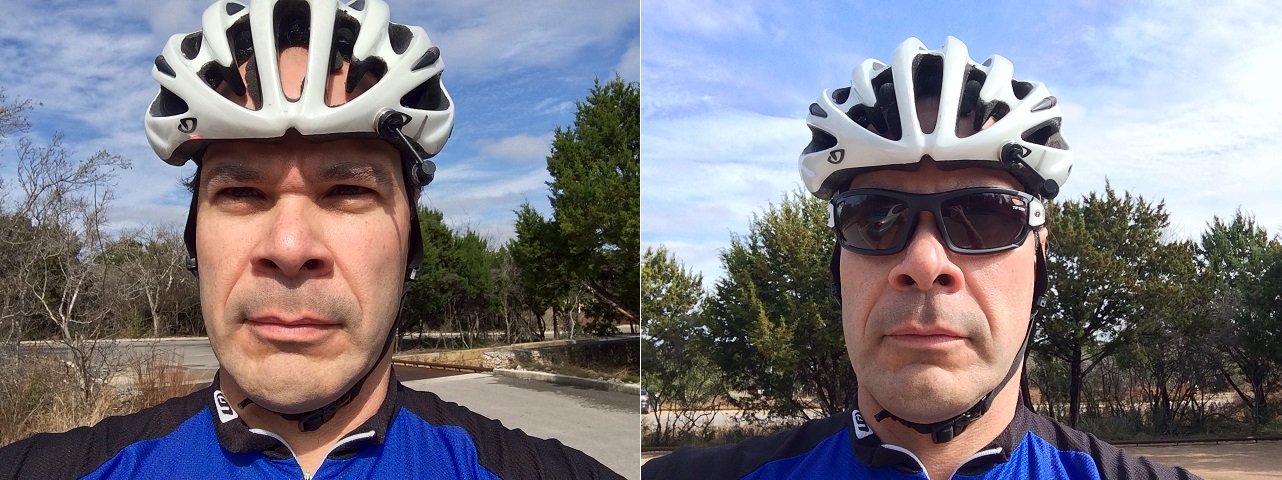
2) While looking forward, take the mirror by the base so that the reflective part of the apparatus in dangling below the rim of the helmet.
At this point, it is not necessary to view a rearward image.
Place the mirror as far up and left of your periphery such that your eye movement to view the circle is not a strain.

3) Make note of the location on the helmet that allows the mirror to be mounted to view in step #2.
Remove the helmet and clean the area where the mirror apparatus will be mounted with rubbing alcohol and allow to dry. Peel the adhesive from the magnet, and firmly press the magnet onto the helmet. Attach the remaining mirror assembly onto the magnet.

4) Place your helmet on your head.
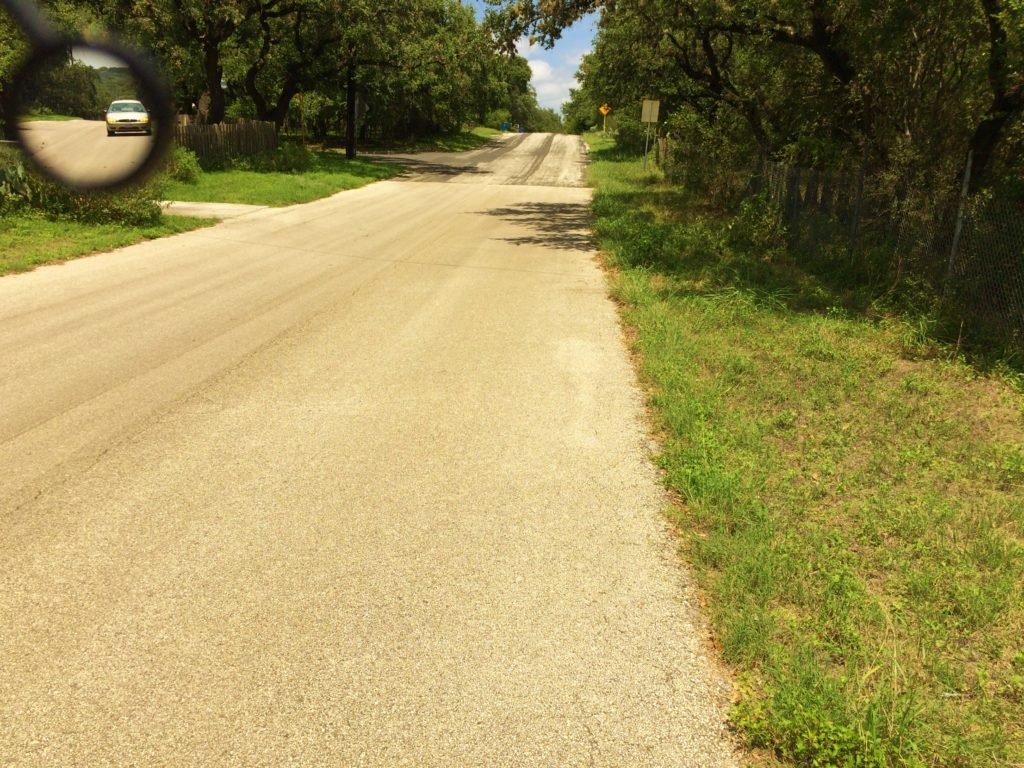
5) This step may require some space–possibly outdoors. Simulate head position while riding. Focus forward, and use the adjustments of the mirror to view 180 degrees behind you. Some head movement may be needed to scan the area behind you.
It is common advice for all mirror users to have an ear, helmet strap, shoulder visible in a small portion of the viewed image. This gives the user relative distance to objects observed in the mirror image.
Equally important is that helmet straps lie as flat as possible against the user’s head. Users with hair in the way may want to pull it back.
6) Experiment with the mirror riding in a controlled environment such as a neighborhood or parking lot before using in more complicated situations.